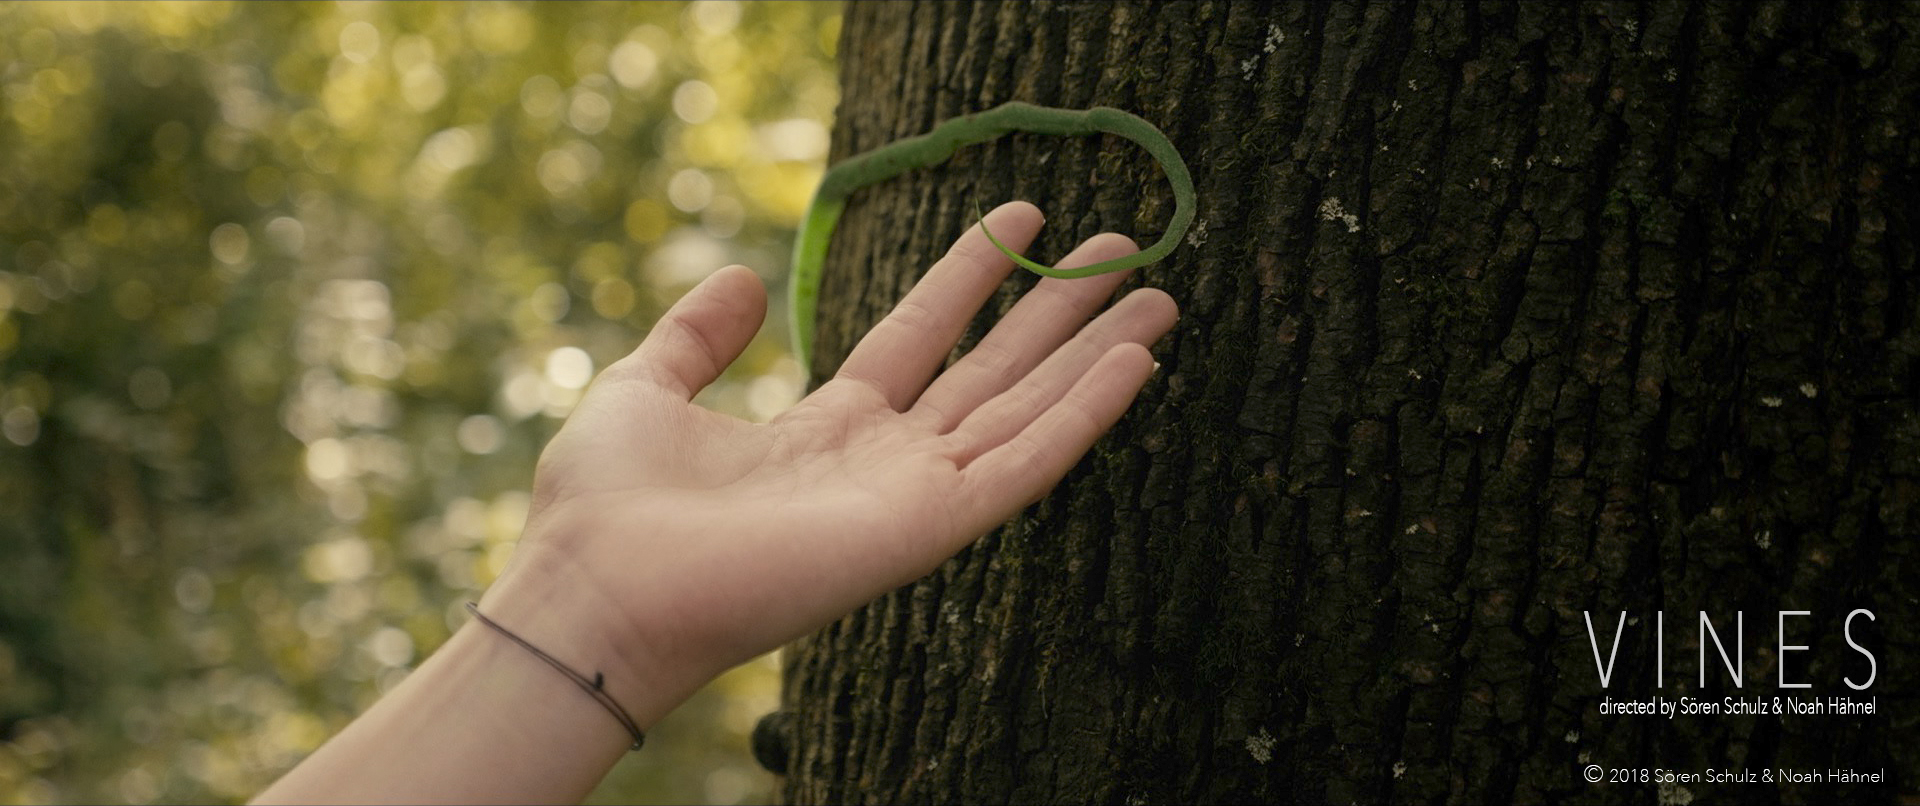
We already covered preproduction and filming of VINES in part 1 of our Making-Of. In this part, you can read about our postproduction process including editing, colour grading and sound. The Visual Effects will be covered in detail in part 3. If you have not seen the film yet, you can do so here or at the end of this article.
Editing
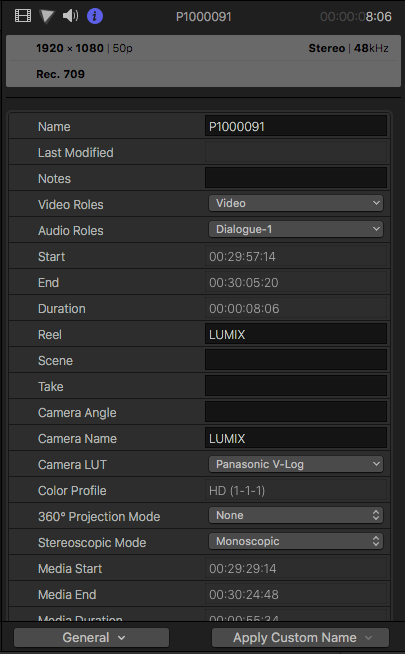
We edited VINES in Final Cut Pro X (FCPX), using the original GH5 mov-files (h264 in 422 10bit). Since the camera recorded in the Panasonic V-log colour profile, we simply activated the build-in V-log LUT in FCPX for the duration of the editing process. That way we had a more pleasant image to edit with.
Even though we shot everything in 50p, we set our project to 25p in order to create the desired slow-motion effect.
The first rough cut, which we already assembled at the end of the shooting day, was 2:35 minutes long and was trimmed down during the editing process to our final length of 2:10 minutes (without credits).
During editing, we already exported a couple of VFX shots with some handle-length in order to start with matchmoving/tracking or to find out, if some of the shots could be used after cleaning up unwanted objects in the frame. Shots for retouching were exported without the LUT, shots for tracking (in our case all of the VFX shots since the camera was moving at all times) were exported with the LUT switched on, because tracking software prefers contrast. Everything was exported in the ProRes 422 codec.
More about our VFX workflow in part 3.
Colour Grading
After deactivating the LUT again in FCPX, the project was exported as XML which was then imported into Blackmagicdesign DaVinci Resolve 14.2 for colour grading.
We used a film LUT as our basis. From there we adjusted contrast and colour. In the secondary colour correction, we used masks and keys to enhance the image, like slightly brighten the face, adjusting skin tones, increasing the red of the dress or turning trash in the background invisible.
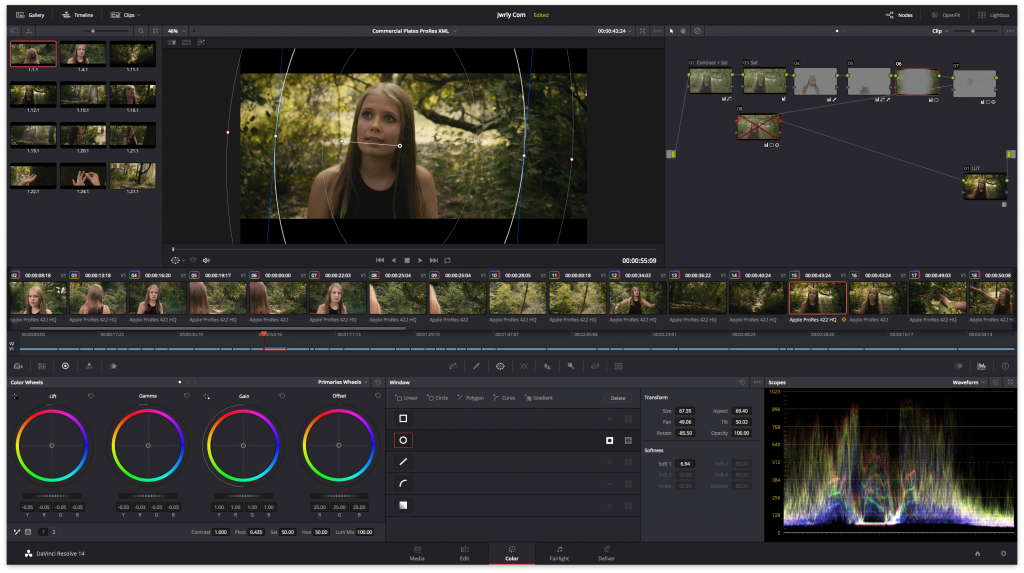
For all of the VFX shots, we deactivated certain secondaries so they could be added later after the VFX were done. Next, all the plates for VFX were exported. Once the compositing was done in Adobe After Effects, we re-imported all of the shots back into DaVinci to make final adjustments, like adding vignettes that were overlapping with VFX elements or tweaking contrast on shots where digital haze had been inserted.
The graded project was then brought back into FCP X using a new XML file.
Music and Sound
From early on we envisioned using mainly music for most parts of the film, with a few sound effects at certain moments. While editing we used a temp track that fit the atmosphere of our film already quite perfectly (a piece by Abel Korzeniowski from Penny Dreadful).
Hence it was a pleasant surprise when Eike Ebbel Groenewold (Bruder – Schwarze Macht, Ijon Tichy: Raumpilot) sent us his first version of the music he composed for us: his music captured our vision perfectly, without him ever listening to the temp track.
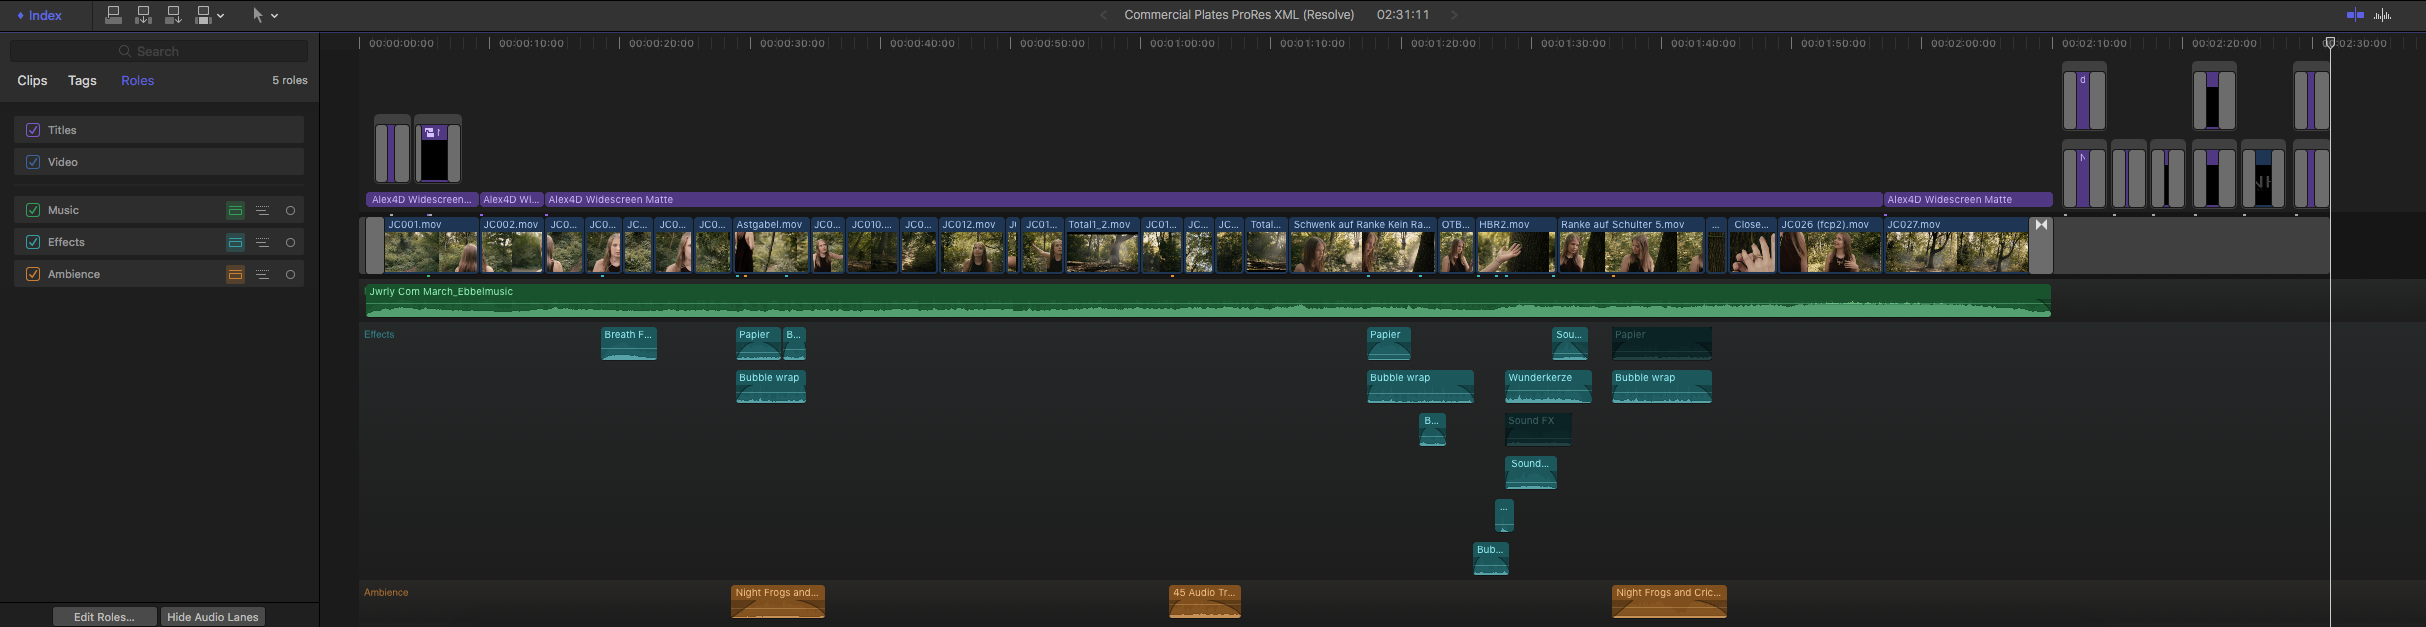
Next, we decided where we wanted to add sound effects. We recorded bubble wrap and wrapping paper, for example, to subtly enhance the movement of the vines. Other effects included humans exhaling or wind sounds. We did all of the sound editing and mixing inside FXP X as well.
Completion
Lastly, we had to add titles in FXP X and add the final music track. After many months of hard work, we were finally finished and could export the film for release.
The third part will feature a more in-depth look at the VFX in VINES.
Click here to read about preproduction and filming of VINES in part 1
Click here to read about our first VFX test for VINES
Click here to read about our autofocus test on the GH5 for VINES
Click here to read about our Ikan Beholder EC1 Gimbal Test for VINES

[…] Click here for part 2: Editing, Colour Grading and Sound […]
[…] Once the VFX work was finished, all the footage was sent back to Blackmagicdesign DaVinci Resolve for a final grading. Then it was exported into Final Cut Pro X. More about editing and grading here. […]
[…] grading the short (which was done in DaVinci Resolve- read here about our grading workflow) we had to be careful not to lose the haze while […]